Seamless Integration- Installing Shower Glass Panel Clips with Precision
The Essence of Precision Engineering
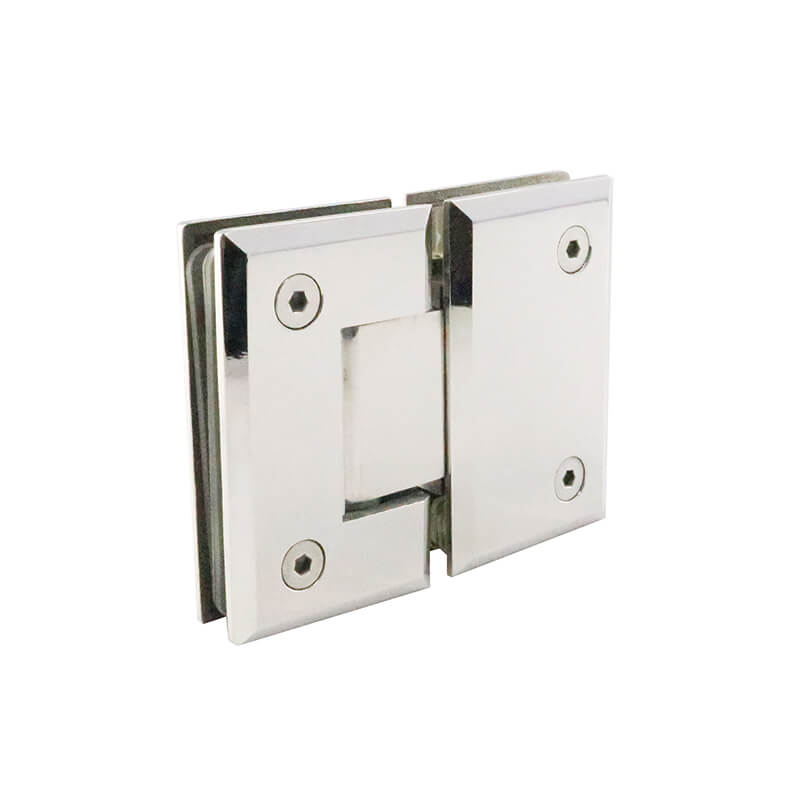
Seamless Integration: Installing Shower Glass Panel Clips with Precision is an integral aspect of creating an immaculate bathroom design. These clips serve as the crucial bridge between the glass panels and the wall, ensuring structural stability while maintaining a sleek and cohesive aesthetic. This article delves into the intricacies of installing shower glass panel clips with precision, empowering homeowners and contractors with the knowledge to achieve an impeccable finish.
Importance of Precise Installation
Glass Panel Alignment
Precise installation of shower glass panel clips is paramount for ensuring the panels align seamlessly. Misalignments can lead to gaps, leaks, and a compromised aesthetic, detracting from the overall appeal of the bathroom.
Structural Integrity
Properly installed clips provide indispensable structural support for the glass panels. Insufficient or improperly fastened clips may compromise the stability of the shower, potentially leading to safety hazards or costly repairs.
Essential Tools and Materials
Measurement and Marking
Essential tools include a measuring tape, level, and pencil for marking the precise locations for clip placement. A straight edge or laser level assists in ensuring accurate alignment.
Drilling and Fastening
A drill, appropriate drill bits, and compatible screws are necessary for creating pilot holes and securing the clips. Use caution to avoid damaging the glass or wall surface.
Step-by-Step Installation Guide
Planning and Preparation
Start by measuring and marking the center points for each clip along the vertical edges of the panels. Ensure the distance between clips is uniform and corresponds with the manufacturer’s recommendations.
Drilling Pilot Holes
Drill pilot holes at the marked center points using a drill bit slightly smaller than the screw diameter. This prevents the glass from cracking or shattering during installation.
Securing the Clips
Position the clips over the pilot holes and use screws to fasten them securely. Tighten the screws gradually, alternating between clips to avoid warping or distorting the panels.
Final Adjustments
Once the clips are installed, use a level to ensure the panels are plumb and level. If necessary, make minor adjustments to the clips until the panels align perfectly.
Tips for Achieving Perfection
Use a Template
For complex or large shower enclosures, consider using a template to mark the clip locations accurately. This minimizes error and ensures consistent spacing.
Lubricate Screws
Apply a small amount of lubricant to the screws before installation to reduce friction and facilitate smooth tightening.
Check for Levelness
Continuously verify the levelness of the panels during and after installation to prevent bowing or sagging.
Conclusion
Installing shower glass panel clips with precision is a key element in achieving a seamless and structurally sound bathroom remodel. By following these detailed guidelines, homeowners and contractors can confidently create a shower enclosure that exudes sophistication and functionality, enhancing the overall bathroom experience. Remember, meticulous planning, proper tools, and precise installation are the cornerstones of a flawless result.
-

How to Find Reliable Frameless Shower Door Pivot Hinge Suppliers?
16-03-2026 -

Glass Panel Hinge Maintenance: What Should You Do to Make It Last Longer?
06-03-2026 -
What Are the Different Types of Frameless Glass Hinges and Their Uses?
04-03-2026 -
Why Do Bathroom Glass Door Hinges Keep Rusting, and How Can You Prevent It?
28-02-2026 -
What to Look for When Buying Shower Screen Door Pivot Hinges?
27-02-2026


-
Why Do Shower Glass Door Hinges Fail and How to Prevent It?
18-03-2026 -
Do Framed Shower Door Hinges Rust Over Time and How Can You Prevent It?
17-03-2026 -
What Are the Best Shower Door Hinges for Glass-to-Glass Installations?
14-03-2026 -
Why Do Some Frameless Glass Shower Door Hinges Fail and How to Prevent It?
13-03-2026 -
How Do Frameless Shower Screen Hinges Affect Durability and Safety?
12-03-2026