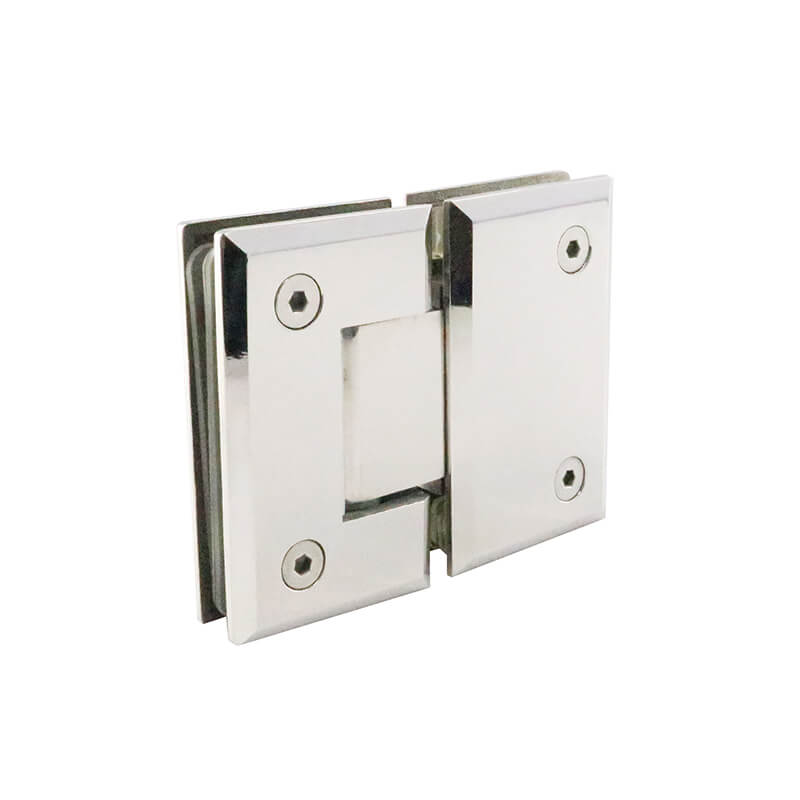
Seamless Integration- Installing Glass Door Pulls for Effortless Functionality
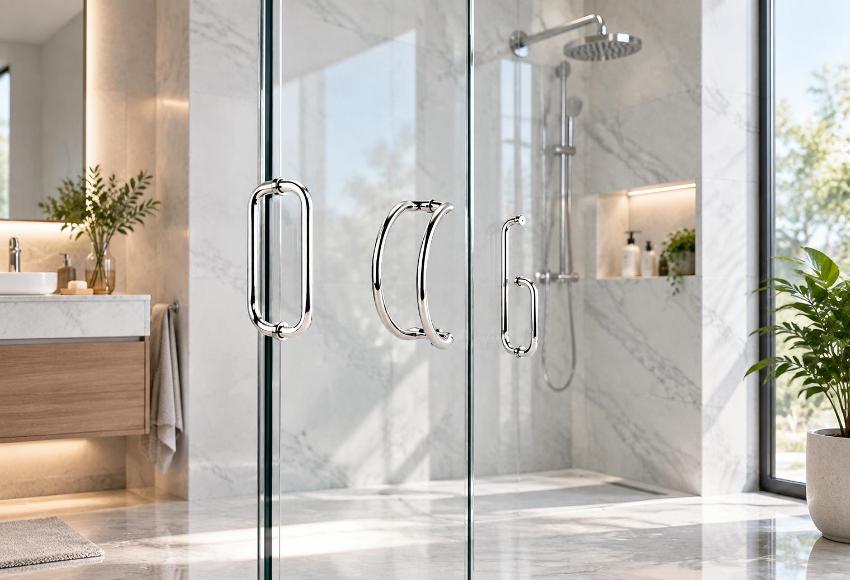
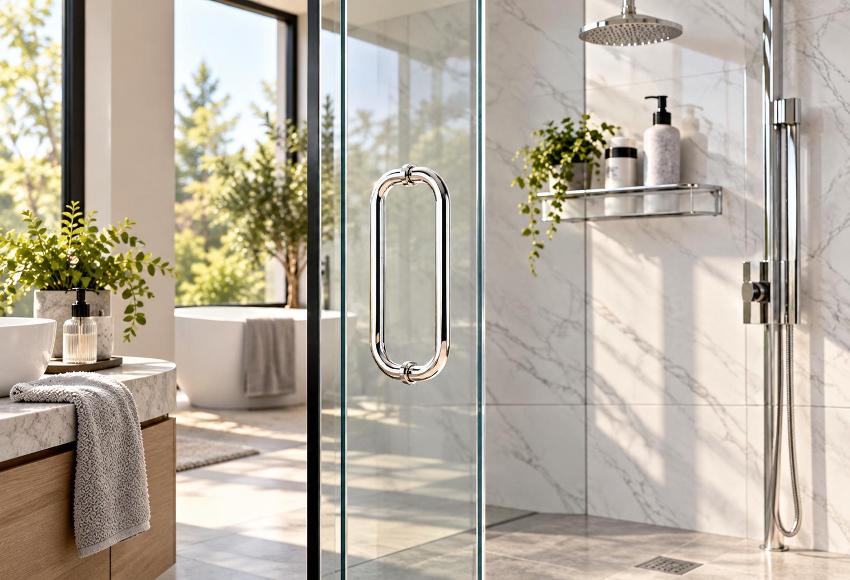
Seamless Integration: Installing Glass Door Pulls for Effortless Functionality outlines the comprehensive process of incorporating glass door pulls into your interior design, ensuring a seamless fusion of style and functionality. From selecting the right type of pull to installing it with precision, this article provides a step-by-step guide to elevate the aesthetic appeal and functionality of your interior spaces.
Choosing the Right Glass Door Pull
The selection of glass door pulls is a crucial step that sets the tone for the overall look and feel of your space. Consider factors such as the style of your home, the material of the door, and the frequency of use when making your choice. Opt for clear or frosted glass for a modern and minimalist aesthetic, or choose textured or patterned glass for a touch of elegance.
Preparing the Door for Installation
Proper preparation of the door is essential to ensure a secure and durable installation. Clean the surface of the door thoroughly to remove any dirt or debris. Use a level to mark the desired placement of the pull, ensuring it is centered and aligned with the edge of the door. Mark the screw holes with a pencil or awl.
Drilling Pilot Holes
Accurate drilling of pilot holes is crucial for a successful installation. Use a drill bit that is slightly smaller than the screws to create the pilot holes. Drill with a steady hand, keeping the drill perpendicular to the door surface. The holes should be deep enough to accommodate the screws without stripping.
Installing the Pull
Insert the screws into the pilot holes, leaving about 1/8 inch of space between the pull and the door surface. Tighten the screws using a screwdriver or drill with a low torque setting. Be careful not to overtighten, as this can crack the glass.
Leveling and Adjusting
Once the pull is installed, check its level using a level. If necessary, make minor adjustments by loosening the screws slightly and repositioning the pull. Tighten the screws again to secure it in its final position.
Finishing Touches
To complete the installation, wipe the glass pull with a clean cloth to remove any fingerprints or smudges. Enjoy the seamless integration of your new glass door pull, enhancing the functionality and aesthetic appeal of your space.
-

SS Handle for Glass Door: Engineering Precision Behind a Simple Pull
13-10-2026 -
Double Swing Glass Door Lock: Hardware Selection for Commercial and Residential Installations
12-10-2026 -
Frameless Glass Door Lock: Engineering Precision for Modern Access Control
11-10-2026 -
Frameless Shower Door Clips: Hardware That Holds the Line Between Function and Failure
10-10-2026 -
Stainless Steel Glass Door Lock: Engineering for Frameless Installations
09-10-2026
-

Why Do Shower Glass Door Hinges Fail and How to Prevent It?
18-03-2026 -

Do Framed Shower Door Hinges Rust Over Time and How Can You Prevent It?
17-03-2026 -
What Are the Best Shower Door Hinges for Glass-to-Glass Installations?
14-03-2026 -
Why Do Some Frameless Glass Shower Door Hinges Fail and How to Prevent It?
13-03-2026 -
How Do Frameless Shower Screen Hinges Affect Durability and Safety?
12-03-2026