How to Install Frameless Shower Clamps
Introduction:
Transform your bathroom into a luxurious and elegant escape with frameless shower clamps. These clamps offer a sleek and modern aesthetic, creating the illusion of a more spacious and open environment. Installing them yourself can be a rewarding project, enabling you to save money and enhance the functionality and beauty of your shower. This detailed guide will provide you with step-by-step instructions on how to install frameless shower clamps, empowering you to achieve professional-looking results.
Gathering Materials and Tools
Before commencing installation, gather the necessary materials and tools:
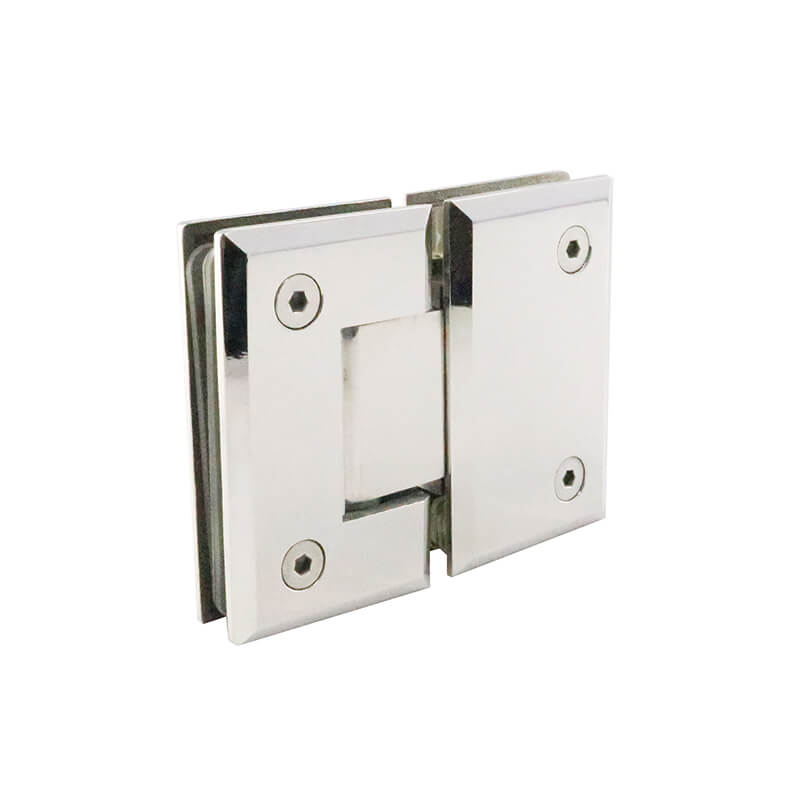
– Frameless shower clamps
– Clear silicone caulk
– A drill
– 1/4-inch drill bit
– Screwdriver
– Level
– Measuring tape
– Pencil
Preparing the Shower Wall
Begin by preparing the shower wall where the clamps will be installed. Ensure the surface is clean, dry, and free of any debris. Mark the location of the clamps using a level and measuring tape, spacing them evenly according to the manufacturer’s instructions.
Drilling Holes and Installing Clamps
Use the drill and 1/4-inch drill bit to create holes at the marked locations. Insert the anchors provided with the clamps into the holes and secure them with screws. Position the clamps over the anchors and tighten them using the screwdriver. Ensure the clamps are firmly attached to the wall.
Installing the Glass Panels
Carefully place the glass panels into the clamps and align them vertically using a level. Secure the panels in place by tightening the screws on the clamps. Apply a bead of clear silicone caulk around the perimeter of the glass panels where they meet the wall to seal any gaps and prevent water leakage.
Aligning and Leveling the Panels
Once the glass panels are installed, check their alignment and level using a level. Adjust the clamps as needed to ensure the panels are perfectly vertical and aligned with each other. Allow the silicone caulk to cure completely before using the shower.
Finishing Touches
Wipe away any excess silicone caulk from the surface of the glass and clamps using a damp cloth. Allow the area to dry completely. Enjoy your newly installed frameless shower clamps and admire the sleek and sophisticated touch they bring to your bathroom.
-

How to Find Reliable Frameless Shower Door Pivot Hinge Suppliers?
16-03-2026 -

Glass Panel Hinge Maintenance: What Should You Do to Make It Last Longer?
06-03-2026 -
What Are the Different Types of Frameless Glass Hinges and Their Uses?
04-03-2026 -
Why Do Bathroom Glass Door Hinges Keep Rusting, and How Can You Prevent It?
28-02-2026 -
What to Look for When Buying Shower Screen Door Pivot Hinges?
27-02-2026


-
Why Do Shower Glass Door Hinges Fail and How to Prevent It?
18-03-2026 -
Do Framed Shower Door Hinges Rust Over Time and How Can You Prevent It?
17-03-2026 -
What Are the Best Shower Door Hinges for Glass-to-Glass Installations?
14-03-2026 -
Why Do Some Frameless Glass Shower Door Hinges Fail and How to Prevent It?
13-03-2026 -
How Do Frameless Shower Screen Hinges Affect Durability and Safety?
12-03-2026