Shower door clamp hinge installation steps and precautions
Shower Door Clamp Hinge Installation Steps and Precautions
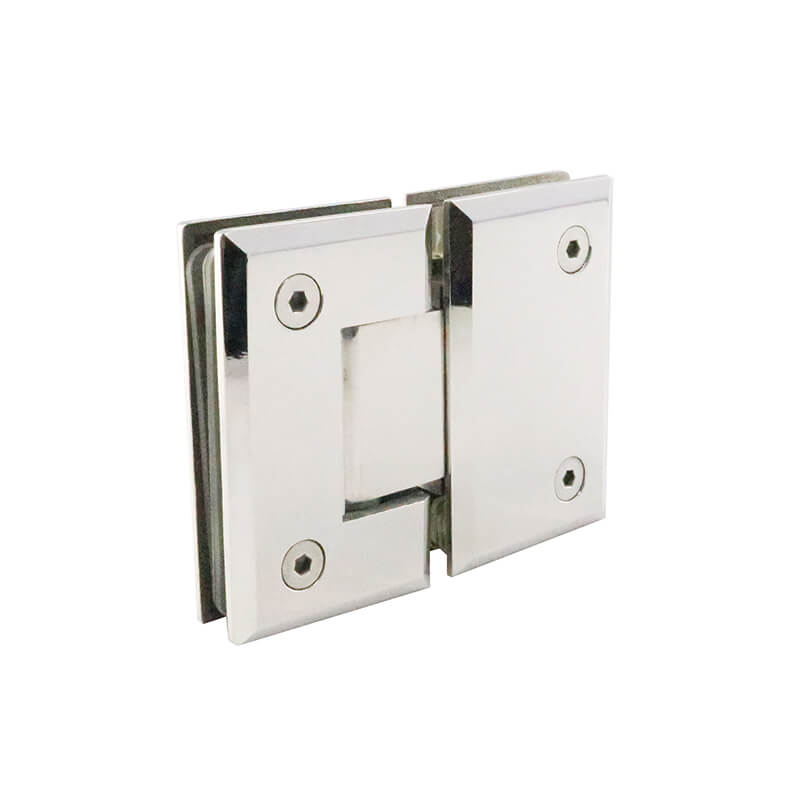
Upgrading your bathroom with a frameless glass shower enclosure can elevate its aesthetics and functionality. Installing the clamp hinges is a crucial step in this process, ensuring the smooth operation and longevity of your shower door. Understanding the installation steps and adhering to essential precautions will guarantee a successful and professional-looking result.
Required Tools and Materials
Before embarking on the installation, gather the necessary tools and materials:
Drill with appropriate bits (7/64″, 9/64″, 1/4″)
Screwdriver (Phillips head)
Glass cleaner
Measuring tape
Level
Pencil
Carpenter’s square
Safety glasses
Installation Steps
Step 1: Prepare the Glass
Clean the glass thoroughly using a glass cleaner and allow it to dry completely.
Measure and mark the center of the glass edge where the hinge will be installed.
Use a carpenter’s square to ensure the hinge is aligned parallel with the glass edge.
Step 2: Drill Pilot Holes
Using a 7/64″ drill bit, drill two pilot holes 1-3/4″ apart at the marked center point.
Ensure the holes are perpendicular to the glass surface and deep enough to accommodate the screws provided with the hinges.
Step 3: Install the Clamps
Apply a small amount of silicone sealant to the base of the clamps.
Align the clamps with the pilot holes and insert the screws.
Tighten the screws gradually and evenly using a screwdriver until the clamps are firmly secured to the glass.
Step 4: Position the Hinge
Place the hinge over the clamps, ensuring it is centered and aligned with the glass edge.
Use a 9/64″ drill bit to drill two pilot holes through the hinge and clamps.
Step 5: Install the Hinge Screws
Apply a small amount of thread locker to the hinge screws.
Insert the screws through the pilot holes and tighten them using a screwdriver.
Ensure the screws are securely tightened, but avoid overtightening to prevent the hinge from binding.
Precautions
Wear safety glasses throughout the installation process.
Use a sharp drill bit and keep it perpendicular to the glass surface to avoid chipping or damaging the glass.
Apply silicone sealant sparingly and wipe away any excess to prevent it from leaking or staining the glass.
Double-check the alignment and measurements before drilling the pilot holes to ensure accuracy.
Avoid overtightening any screws, as this can damage the glass or the hinge.
Allow the silicone sealant to cure completely before using the shower door.
-

How to Find Reliable Frameless Shower Door Pivot Hinge Suppliers?
16-03-2026 -

Glass Panel Hinge Maintenance: What Should You Do to Make It Last Longer?
06-03-2026 -
What Are the Different Types of Frameless Glass Hinges and Their Uses?
04-03-2026 -
Why Do Bathroom Glass Door Hinges Keep Rusting, and How Can You Prevent It?
28-02-2026 -
What to Look for When Buying Shower Screen Door Pivot Hinges?
27-02-2026


-
Why Do Shower Glass Door Hinges Fail and How to Prevent It?
18-03-2026 -
Do Framed Shower Door Hinges Rust Over Time and How Can You Prevent It?
17-03-2026 -
What Are the Best Shower Door Hinges for Glass-to-Glass Installations?
14-03-2026 -
Why Do Some Frameless Glass Shower Door Hinges Fail and How to Prevent It?
13-03-2026 -
How Do Frameless Shower Screen Hinges Affect Durability and Safety?
12-03-2026