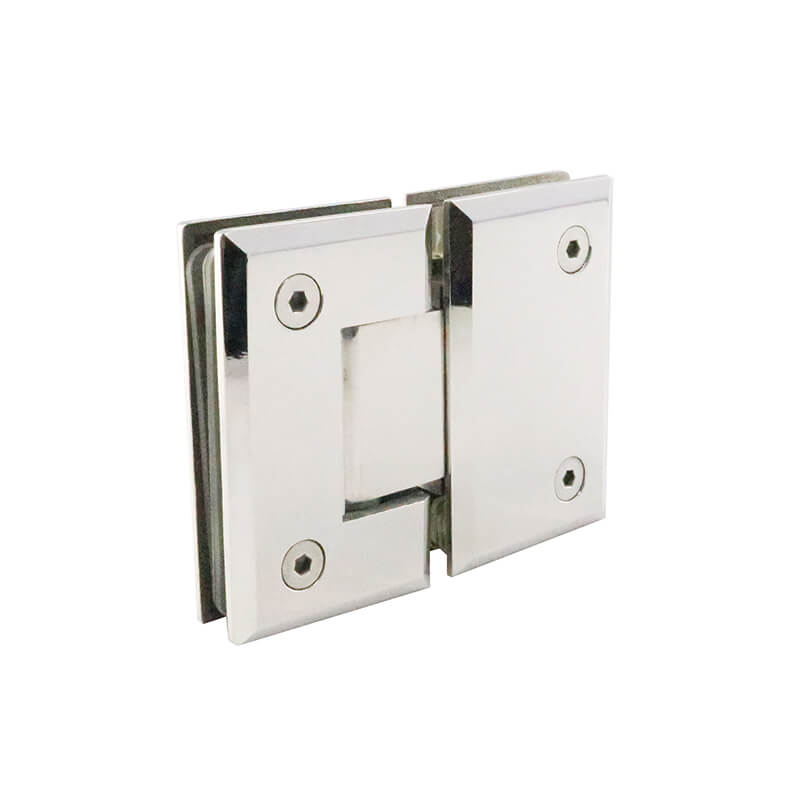
Repair and replacement of glass door H-handle tutorial
Repair and Replacement of Glass Door H-Handle Tutorial: A Shattering Guide
Are you facing a shattered glass door H-handle, leaving your doorway unprotected and vulnerable? Fret not, for we present you with this comprehensive tutorial that will guide you through the intricate process of repairing or replacing the pesky handle with ease.
Assessing the Damage
Before embarking on the repair or replacement journey, it’s essential to determine the extent of the damage. Carefully inspect the H-handle and identify the type of glass used. Glass doors typically feature tempered glass, which shatters into small, blunt pieces upon impact, minimizing the risk of injuries.
Step-by-Step Repair Guide
Materials You’ll Need:
– New H-handle (if replacing)
– Glass cleaner
– Tape measure
– Drill
– Screwdriver
Instructions:
1. Safety First: Wear gloves and eye protection to prevent any unfortunate splinters.
2. Remove Broken Pieces: Carefully remove the broken glass pieces from the handle. Use a vacuum cleaner to remove any tiny shards.
3. Clean the Handle: Diligently clean the handle using glass cleaner to eliminate any dirt or debris.
4. Measure and Mark: Use a tape measure to mark the position of the new handle. Ensure it aligns with the existing holes.
5. Drill Pilot Holes: Using a drill bit slightly smaller than the screws, create pilot holes in the marked positions.
6. Screw in the Handle: Insert the screws into the pilot holes and fasten them securely using a screwdriver.
7. Test the Handle: Open and close the door several times to ensure the handle is functioning smoothly.
Step-by-Step Replacement Guide
Materials You’ll Need:
– New H-handle (matching the original)
– Glass cleaner
– Tape measure
– Phillips screwdriver
Instructions:
1. Safety First: Gloves and eye protection are your trusty companions.
2. Remove the Existing Handle: Use a Phillips screwdriver to remove the screws holding the old handle in place.
3. Clean the Area: Wipe the surface around the handle with glass cleaner.
4. Align the New Handle: Position the new handle over the holes. Ensure it’s aligned correctly.
5. Tighten the Screws: Insert the screws into the holes and tighten them securely with the screwdriver.
6. Test the Handle: Operate the handle to confirm it’s functioning seamlessly.
Additional Tips
– Use high-quality glass cleaner to thoroughly remove any fingerprints or smudges.
– If you’re unsure about repairing or replacing the handle yourself, don’t hesitate to seek professional assistance.
– Regularly clean and inspect the glass door to prevent future damage.
-

How to Find Reliable Frameless Shower Door Pivot Hinge Suppliers?
16-03-2026 -

Glass Panel Hinge Maintenance: What Should You Do to Make It Last Longer?
06-03-2026 -
What Are the Different Types of Frameless Glass Hinges and Their Uses?
04-03-2026 -
Why Do Bathroom Glass Door Hinges Keep Rusting, and How Can You Prevent It?
28-02-2026 -
What to Look for When Buying Shower Screen Door Pivot Hinges?
27-02-2026


-
Why Do Shower Glass Door Hinges Fail and How to Prevent It?
18-03-2026 -
Do Framed Shower Door Hinges Rust Over Time and How Can You Prevent It?
17-03-2026 -
What Are the Best Shower Door Hinges for Glass-to-Glass Installations?
14-03-2026 -
Why Do Some Frameless Glass Shower Door Hinges Fail and How to Prevent It?
13-03-2026 -
How Do Frameless Shower Screen Hinges Affect Durability and Safety?
12-03-2026