How to Install Framed Shower Door Hinges
How to Install Framed Shower Door Hinges: A Comprehensive Guide
Installing framed shower door hinges is a crucial step in completing your shower enclosure. Whether you’re a homeowner striving to enhance your bathroom’s aesthetics or a professional contractor seeking to provide top-notch service, this detailed guide will empower you with the knowledge and steps necessary to execute a seamless hinge installation.
Selecting the Right Hinges
The first step is choosing the appropriate hinges. Factors to consider include:
– Door Weight and Size: Ensure the hinges are strong enough to support the weight of the shower door. Larger and heavier doors require more robust hinges.
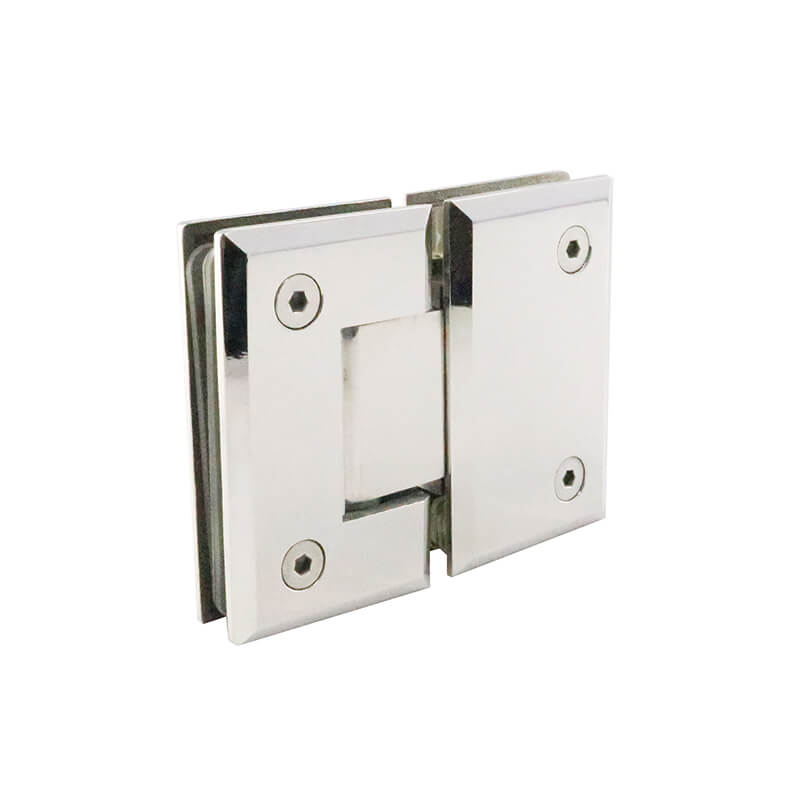
– Material: Hinges are typically made of stainless steel, brass, or chrome-plated finishes. Choose materials that are rust-resistant and complement your bathroom’s design.
– Style: Hinges come in various styles, such as round, square, and curved. Select a design that harmonizes with the overall aesthetics of your bathroom.
Tools and Materials
Before starting, gather the following tools and materials:
– Safety glasses
– Screwdriver
– Level
– Measuring tape
– Pencil or marker
– Template (if provided with hinges)
– Hinges
– Screws
Step-by-Step Installation Guide
1. Mark the Hinge Locations
– Measure the height of the door from the top edge to the desired hinge placement.
– Mark these locations on both the door and the shower frame using a pencil or marker.
– Use a level to ensure the marks are level.
2. Attach the Wall Hinge
– Place one of the hinges on the frame and align it with the marked location.
– Secure the hinge with screws and a screwdriver, ensuring they are tight but not overtightened.
3. Attach the Door Hinge
– Position the corresponding hinge on the door and align it with the marked location.
– Insert the screws and tighten them firmly.
4. Level and Adjust
– Check if the door is level using a level. If needed, adjust the screws on the hinges until the door hangs level.
– Swing the door open and closed to ensure it opens and closes smoothly and without any rubbing against the frame.
5. Finalize the Installation
– Tighten all screws to ensure a secure fit.
– Clean any excess sealant or debris from the hinges and door.
Troubleshooting
Door Rubbing Against the Frame
– Check if the door is level. Adjust the screws on the hinges accordingly.
– Inspect the hinge brackets for any bends or misalignment. Adjust or replace them as needed.
Door Swinging Open or Closed Uncontrollably
– Check if the screws are loose. Tighten them firmly.
– Adjust the spring tension on the hinges (if applicable) to create more resistance.
Hinge Squeaking
– Apply a few drops of lubricant to the hinges to reduce friction.
– Check if any screws are loose and tighten them.
-

How to Find Reliable Frameless Shower Door Pivot Hinge Suppliers?
16-03-2026 -

Glass Panel Hinge Maintenance: What Should You Do to Make It Last Longer?
06-03-2026 -
What Are the Different Types of Frameless Glass Hinges and Their Uses?
04-03-2026 -
Why Do Bathroom Glass Door Hinges Keep Rusting, and How Can You Prevent It?
28-02-2026 -
What to Look for When Buying Shower Screen Door Pivot Hinges?
27-02-2026


-
Why Do Shower Glass Door Hinges Fail and How to Prevent It?
18-03-2026 -
Do Framed Shower Door Hinges Rust Over Time and How Can You Prevent It?
17-03-2026 -
What Are the Best Shower Door Hinges for Glass-to-Glass Installations?
14-03-2026 -
Why Do Some Frameless Glass Shower Door Hinges Fail and How to Prevent It?
13-03-2026 -
How Do Frameless Shower Screen Hinges Affect Durability and Safety?
12-03-2026