How to Install Shower Glass Clips Like a Pro
How to Install Shower Glass Clips Like a Pro: A Comprehensive Guide
“How to Install Shower Glass Clips Like a Pro” is an essential guide for homeowners, contractors, and DIY enthusiasts who seek to elevate their bathroom aesthetics while ensuring durability and functionality. This article provides a detailed walkthrough of the process, empowering readers to achieve professional-grade results with precision and efficiency.
Assessing the Shower Glass
Before embarking on the installation, it is crucial to inspect the shower glass carefully. Ensure that it is clean, free of cracks or chips, and within the recommended thickness range for the chosen clips. The thickness will determine the appropriate size and style of the clips.
Selecting the Right Clips
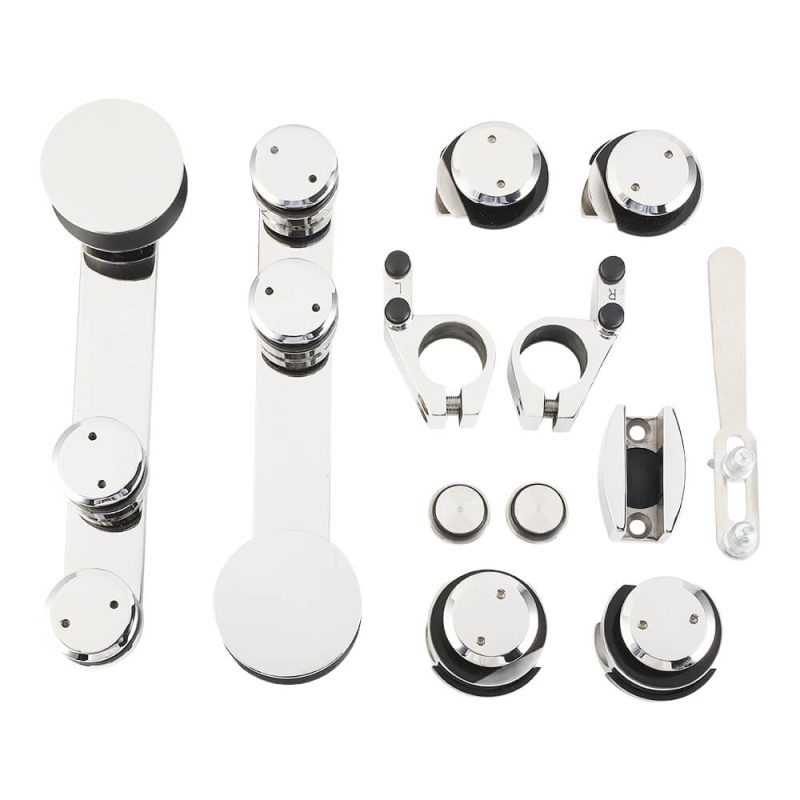
Choosing the correct clips is essential for structural integrity and overall appearance. Consider factors such as the glass thickness, weight, and desired aesthetic. Clips come in various materials like stainless steel, aluminum, or plastic, each offering unique benefits and finishes. Opt for clips that complement your bathroom decor and provide the necessary support.
Marking the Clip Locations
The precise placement of the clips is pivotal for even glass support. Determine the height and spacing of the clips based on the manufacturer’s guidelines and the size of the glass. Use a level to ensure the clips are aligned horizontally and vertically. Mark the points where the clips will be installed.
Drilling Pilot Holes
For secure installation, drill pilot holes at the marked locations. The hole diameter should align with the screw size provided with the clips. Drill carefully, avoiding excessive depth or damaging the glass. Clear the debris from the holes to prevent interference during clip mounting.
Installing the Clips
Apply a small amount of silicone sealant around the base of each clip for added water resistance. Align the clips with the pilot holes and tighten the screws gradually. Avoid overtightening to prevent glass breakage. Use a level to ensure the clips are perpendicular to the glass.
Securing the Glass
Position the glass carefully on the installed clips. Apply pressure evenly to ensure the glass is fully seated against the clips. Secure each clip further by tightening the set screws. Check for any uneven gaps or wobbliness and adjust the clips as needed.
Finishing Touches
Once the glass is secure, apply a generous bead of silicone sealant around the perimeter of the glass, where it meets the wall or other surfaces. Smooth the sealant with a finger or tool for a clean and waterproof finish. Allow the sealant to cure according to the manufacturer’s instructions.
By following these steps, you can confidently install shower glass clips like a professional, ensuring a stylish and functional addition to your bathroom that will enhance its aesthetic appeal and longevity. Remember to always adhere to safety precautions and seek professional assistance if necessary.
-
What Are Shower Glass Hinges and Why Do Manufacturers Focus on Quality Standards?
11-02-2026 -
What Is the Best Material for Shower Door Hinges: Stainless Steel or Brass?
05-02-2026 -
What Types of Glass Office Door Locks Are Most Durable?
04-02-2026 -
The Advantages of Stainless Steel Glass Door Locks: Durability, Security, and Design
23-01-2026 -
Top Features of D Locks for Glass Doors: What to Look For
20-01-2026
-
Wall to Glass Hinge vs Glass to Glass Hinge: Which Is Better?
12-02-2026 -
Which Types of Shower Hinges Are Best for Modern Bathrooms?
10-02-2026 -
What Are the Different Types of Glass Shower Door Hinges?
06-02-2026 -
The Best Lock Options for Double Swing Glass Doors: Features and Benefits
31-01-2026 -
The Ultimate Guide to Glass Door Locks: Which One Is Right for You?
30-01-2026


