DIY Delight- Easy Installation of Frameless Shower Door Clips
DIY Delight: Effortless Installation of Frameless Shower Door Clips
Transform your bathroom into a luxurious haven with the innovative DIY Delight: Easy Installation of Frameless Shower Door Clips. Say goodbye to cumbersome frames and embrace the sleek, modern aesthetic of a frameless shower door. This comprehensive guide will empower you with the knowledge and techniques to effortlessly install these clips, unlocking a whole new level of elegance and functionality for your bathroom.
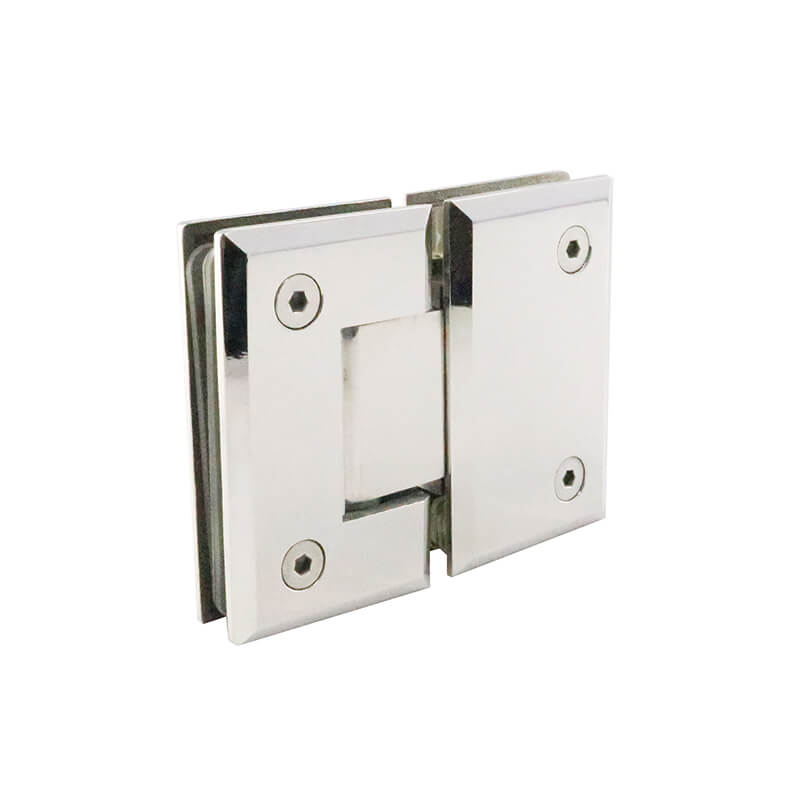
Benefits of Frameless Shower Door Clips
– Uninterrupted Visibility: Frameless shower doors offer an unobstructed view, creating a spacious and airy atmosphere in your bathroom.
РModern Aesthetics: The clean lines and minimalist design of frameless shower doors complement any d̩cor, enhancing the overall appeal of your bathroom.
– Easy Maintenance: The absence of frames eliminates dirt and grime traps, making cleaning a breeze.
– Durability: High-quality shower door clips are crafted from durable materials, ensuring longevity and reliability.
Step-by-Step Installation Guide
Preparation
1. Gather necessary tools: measuring tape, level, drill, screwdriver, and safety glasses.
2. Remove the old shower door or prepare the shower stall for the new door.
3. Measure and mark the desired position of the clips on the shower glass.
Clip Installation
1. Drill pilot holes at the marked locations using the appropriate drill bit.
2. Apply a small amount of sealant to the base of the clips.
3. Insert the clips into the pilot holes and tighten them with a screwdriver.
4. Ensure that the clips are securely fastened, but avoid overtightening.
Door Installation
1. Lift the shower door onto the installed clips and align it properly.
2. Use a level to ensure that the door is plumb and level.
3. Tighten the screws connecting the door to the clips.
4. Apply sealant around the edges of the door to enhance waterproofing.
Tips for Success
– Use a template or measuring tools to ensure accurate clip placement.
– Check the level of the clips and door periodically during installation.
– Select clips that are compatible with the thickness of your shower glass.
– Tighten the screws gradually and evenly to avoid damage or distortion.
– If you encounter any difficulties, consult a professional for assistance.
Conclusion
Embarking on a DIY project can be daunting, but with the help of DIY Delight: Easy Installation of Frameless Shower Door Clips, you can transform your bathroom with confidence. By following the detailed instructions and tips, you will effortlessly install frameless shower door clips, creating a stunning and functional space that will elevate your daily bathing experience. Embrace the DIY spirit and enjoy the satisfaction of a beautifully renovated bathroom without breaking the bank.
-

How to Find Reliable Frameless Shower Door Pivot Hinge Suppliers?
16-03-2026 -

Glass Panel Hinge Maintenance: What Should You Do to Make It Last Longer?
06-03-2026 -
What Are the Different Types of Frameless Glass Hinges and Their Uses?
04-03-2026 -
Why Do Bathroom Glass Door Hinges Keep Rusting, and How Can You Prevent It?
28-02-2026 -
What to Look for When Buying Shower Screen Door Pivot Hinges?
27-02-2026


-
Why Do Shower Glass Door Hinges Fail and How to Prevent It?
18-03-2026 -
Do Framed Shower Door Hinges Rust Over Time and How Can You Prevent It?
17-03-2026 -
What Are the Best Shower Door Hinges for Glass-to-Glass Installations?
14-03-2026 -
Why Do Some Frameless Glass Shower Door Hinges Fail and How to Prevent It?
13-03-2026 -
How Do Frameless Shower Screen Hinges Affect Durability and Safety?
12-03-2026