DIY Installation of Framed Shower Door Hinges
DIY Installation of Framed Shower Door Hinges: A Guide to Serene Showering Delights
In the realm of bathroom renovations, few upgrades can match the transformative allure of a framed shower door. Encasing your showering enclosure in sleek, translucent glass panels not only elevates the aesthetic but also unlocks a world of practical advantages. Yet, behind the polished facade of these elegant doors lies a crucial element often overlooked: the hinges.
Mastering the installation of shower door hinges is the key to ensuring a seamless and enduring showering experience. By following this comprehensive guide, you’ll embark on an empowering DIY journey that will leave your bathroom transformed and your showers revitalized.
Materials Required:
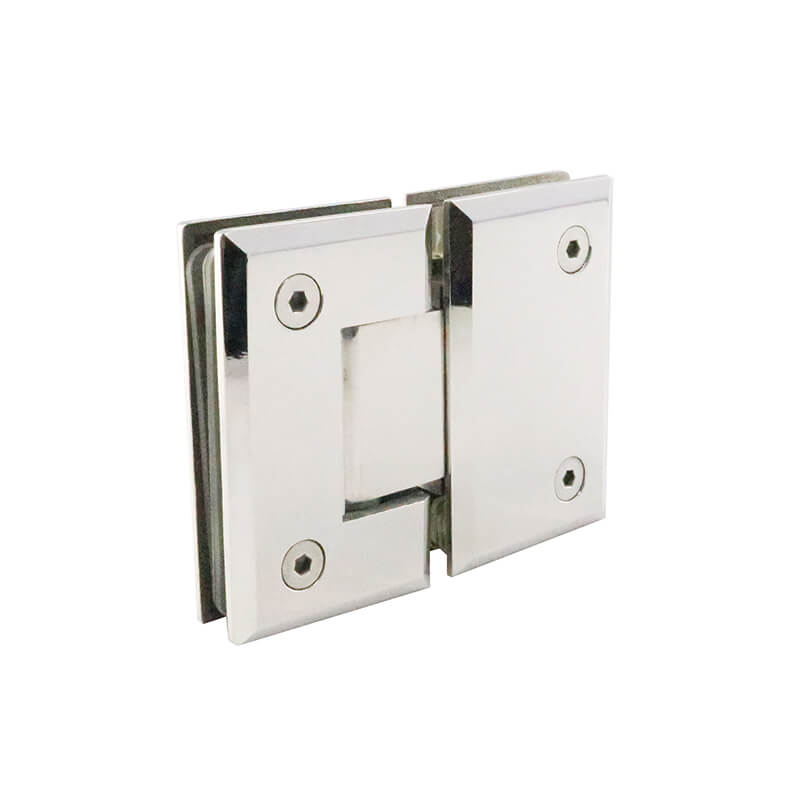
Framed shower door
Hinge screws
Screwdriver
Drill
Pencil or marker
Measuring tape
Preparation:
1. Gather materials: Assemble all the necessary tools and materials before commencing the installation.
2. Measure and mark: Use the measuring tape to determine the exact location of the hinges on the glass panels and door frame. Mark these points with a pencil or marker.
3. Drill pilot holes: Using the drill, create small pilot holes at the marked points for the hinge screws.
Installation:
1. Position hinges: Align the hinges with the pilot holes and carefully screw them into place. Ensure the hinges are properly tightened without overdoing it.
2. Hang the door: With the hinges securely installed, gently lift the shower door and place it on the hinges. Secure the hinges to the door frame.
3. Adjust Alignment: Use a screwdriver to fine-tune the hinge adjustment screws. This will ensure the door opens and closes smoothly without any friction.
Tips for Success:
Use high-quality hinges to guarantee durability and a trouble-free operation.
Always wear safety glasses during drilling and installation.
Take your time and follow the instructions carefully to avoid any errors.
If you encounter any difficulties, seek professional assistance.
Conclusion:
With the installation of your framed shower door hinges now complete, you can bask in the serenity of your revitalized bathroom. The smoothly gliding door will effortlessly open and close, offering a luxurious showering experience every time. By embracing this DIY project, you’ve not only saved money but also gained immeasurable satisfaction in creating a bathroom oasis that will elevate your daily routine.
-

How to Find Reliable Frameless Shower Door Pivot Hinge Suppliers?
16-03-2026 -

Glass Panel Hinge Maintenance: What Should You Do to Make It Last Longer?
06-03-2026 -
What Are the Different Types of Frameless Glass Hinges and Their Uses?
04-03-2026 -
Why Do Bathroom Glass Door Hinges Keep Rusting, and How Can You Prevent It?
28-02-2026 -
What to Look for When Buying Shower Screen Door Pivot Hinges?
27-02-2026


-
Why Do Shower Glass Door Hinges Fail and How to Prevent It?
18-03-2026 -
Do Framed Shower Door Hinges Rust Over Time and How Can You Prevent It?
17-03-2026 -
What Are the Best Shower Door Hinges for Glass-to-Glass Installations?
14-03-2026 -
Why Do Some Frameless Glass Shower Door Hinges Fail and How to Prevent It?
13-03-2026 -
How Do Frameless Shower Screen Hinges Affect Durability and Safety?
12-03-2026